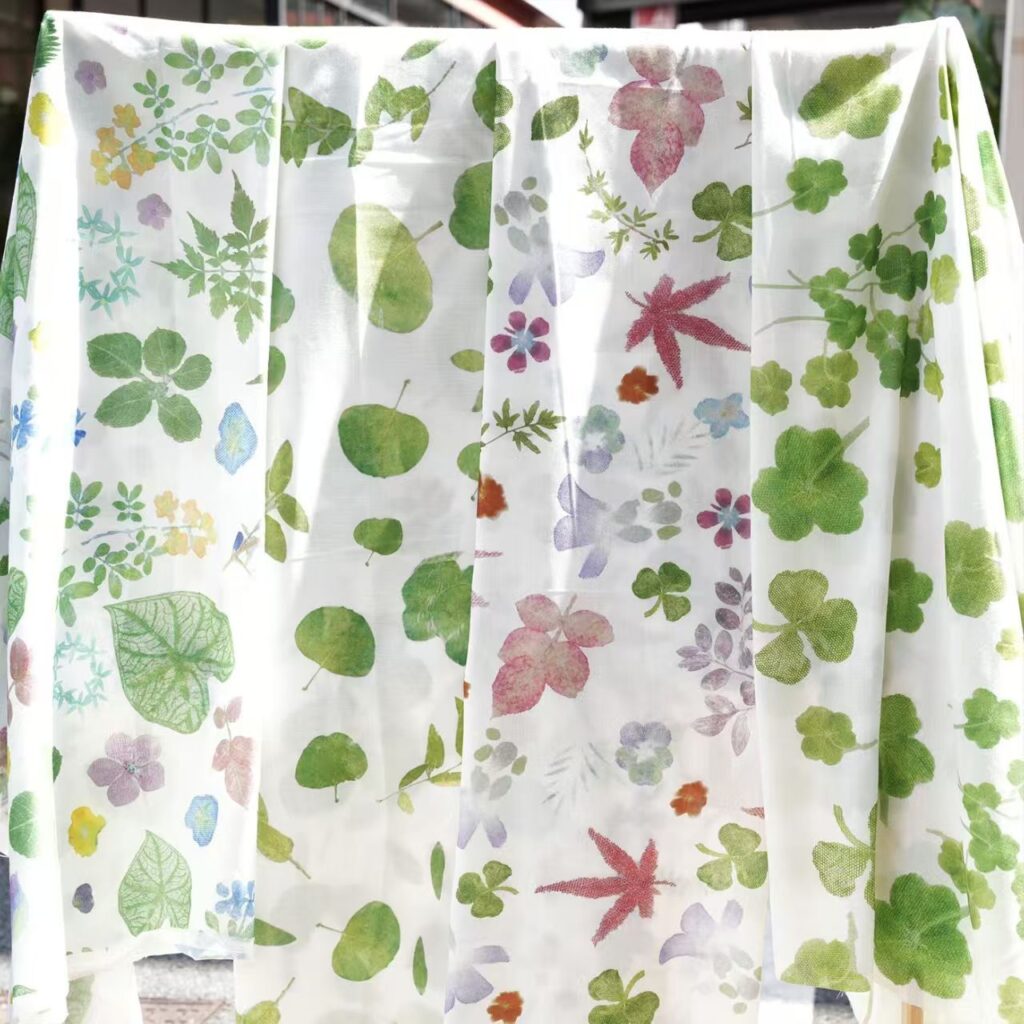
Last summer, I found myself slowing down. I’d been spending too many evenings scrolling, too many weekends running errands. I wanted something that pulled me outside and gave my hands something to do.
I started noticing leaves differently—the vein patterns on ferns, the way light passed through maple stems. Eventually I tried laying one on fabric and hitting it with a rubber mallet. The pigment transferred. The shape held. I was hooked.
Six months later, my study has handmade curtains I printed myself, and my kitchen apron carries nandina leaves. Here’s the full process, in case you want to try this eco plant print handmade craft too.
What Is Eco Plant Print Handmade?
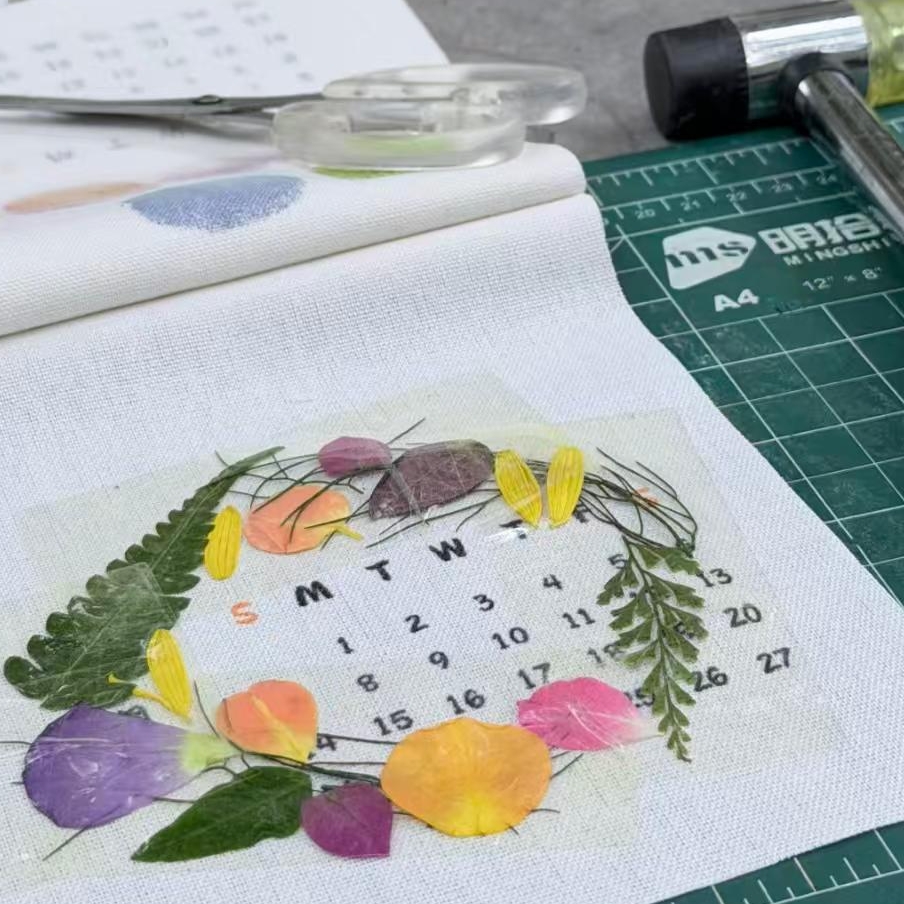
Eco plant print handmade—also called botanical hammer printing, flower pounding, leaf pounding, or tataki-zome in Japanese tradition—is a direct transfer technique where you hammer fresh plant material onto natural fabric to release its natural pigments. The result is a handmade nature print that captures the exact vein structure and silhouette of the leaf or flower.
Unlike industrial printing or chemical dyes, this eco-friendly handmade method uses only plants, water, and a simple mordant. No synthetic dyes. No machinery. Just you, the leaf, and the fabric.
Materials for Your Handmade Eco Print
| Material | Purpose | Notes |
|---|---|---|
| Cotton or linen muslin | Base fabric | Linen or cotton-linen blend works best for handmade eco prints—the weave is breathable and the prints come through clearly. Avoid synthetic fabrics; they won’t hold plant pigment |
| Rubber mallet | Hammering tool | Hardware stores carry these for ~$10. A tongue scraper works too, but your hand will cramp after a while |
| Packing tape | Secures leaves | Wide roll. You need to cover the entire leaf, not just the ends, or it’ll shift while hammering |
| Alum | Mordant/fixative | Available at grocery stores (pickling section), craft stores, or online. Essential for colorfastness in handmade plant prints; without it, colors wash out quickly |
| Thick cardboard or scrap cloth | Backing | Catches plant juices so they don’t stain your table |
Best Plants for Eco Handmade Printing
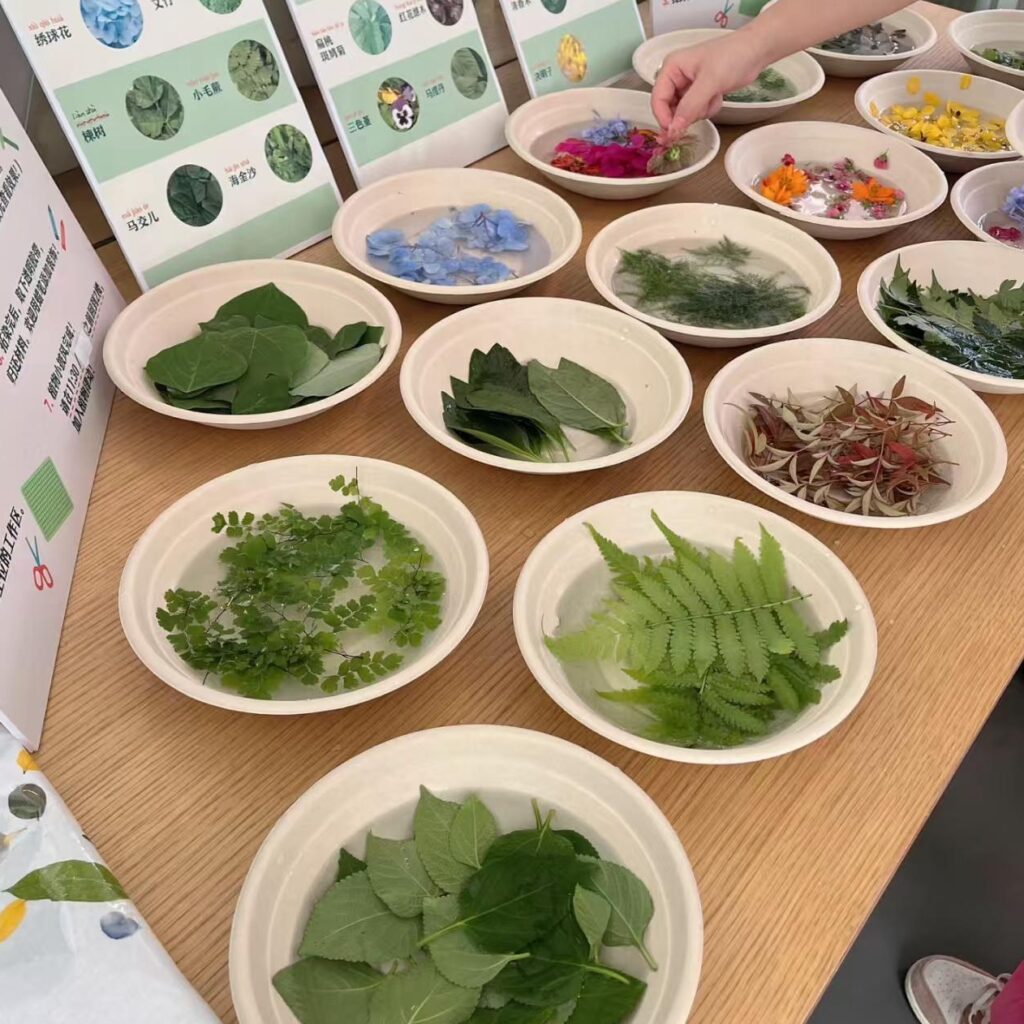
Look for leaves that are juicy and moderately thick. Too thin and they’ll pulverize into mush. Too thick and the natural pigments won’t release evenly.
Start with ferns—they’re forgiving and the vein structure prints beautifully:
- Hay-scented fern
- Maidenhair fern
- Bracken
Others I’ve had good results with for eco plant handmade projects:
- Nandina, Loropetalum: Structured leaves, reliable color
- Pellitory: Delicate, good for scattered accents
- Pansy petals: Soft color, but skip the alum soak—it fades the bloom’s natural hue
Avoid: Spiny or rigid, low-sap leaves (like pine needles). They yield poor color and can puncture fabric.
Five Steps to Handmade Eco Plant Prints
Step 1: Gather Fresh Botanical Material
Choose recently picked, well-hydrated leaves. Wilted or desiccated plants won’t release pigment. Use them within half an hour of picking—after that, they lose turgor and the eco prints blur.
Early morning or after rain is ideal. The leaves are plump and the sap runs freely.
Step 2: Alum Mordant (Skip for Petals)
Dissolve alum in warm water. No need to measure precisely—enough that the water tastes faintly astringent. Soak leaves for 10–15 minutes, then dry them thoroughly.
Key points: Use them immediately after drying. Petals should skip this step entirely; alum strips their color.
For a more detailed guide on mordanting techniques for handmade botanical printing, Flora Obscura has an excellent breakdown of alum and aluminum acetate mordants for different fiber types.
Step 3: Arrange and Tape
Lay leaves on your fabric and cover completely with tape. This is crucial—partial taping lets leaves slide, which smears the plant print.
Composition tip: Mix large and small leaves for depth. Hammer from leaf tip toward stem, or from fabric edge toward center. This follows the vein direction and keeps the handmade eco print intact.
Place thick cardboard or cloth underneath. Plant juices will seep through.
Step 4: Hammer
Work the rubber mallet across the entire leaf surface. Pressure should be firm and even—too heavy tears the cloth, too light leaves faint impressions.
Lift a corner of tape periodically to check. Re-hammer any pale areas until veins and petal details transfer fully.
This takes time. My first curtain took two hours, start to finish. Unveiling the final handmade plant print made it feel worthwhile.
Step 5: Clean and Dry
Peel off tape, brush away leaf fragments, and let dry. The finished cloth carries a muted, earthy tone—not the saturation of synthetic dye, but the actual color of the plant: brown-tinged greens, dusky purples. It ages gracefully.
Handmade Eco Print Home Decor Ideas
Linen Curtains
Large-scale ferns and slender stems, scattered asymmetrically. When sunlight filters through, the leaf silhouettes cast onto walls and floors—something no factory print can replicate.
Tablecloths
Small leaves and delicate stems, plenty of negative space. The low saturation doesn’t compete with food, but rewards closer attention.
Kitchen Aprons
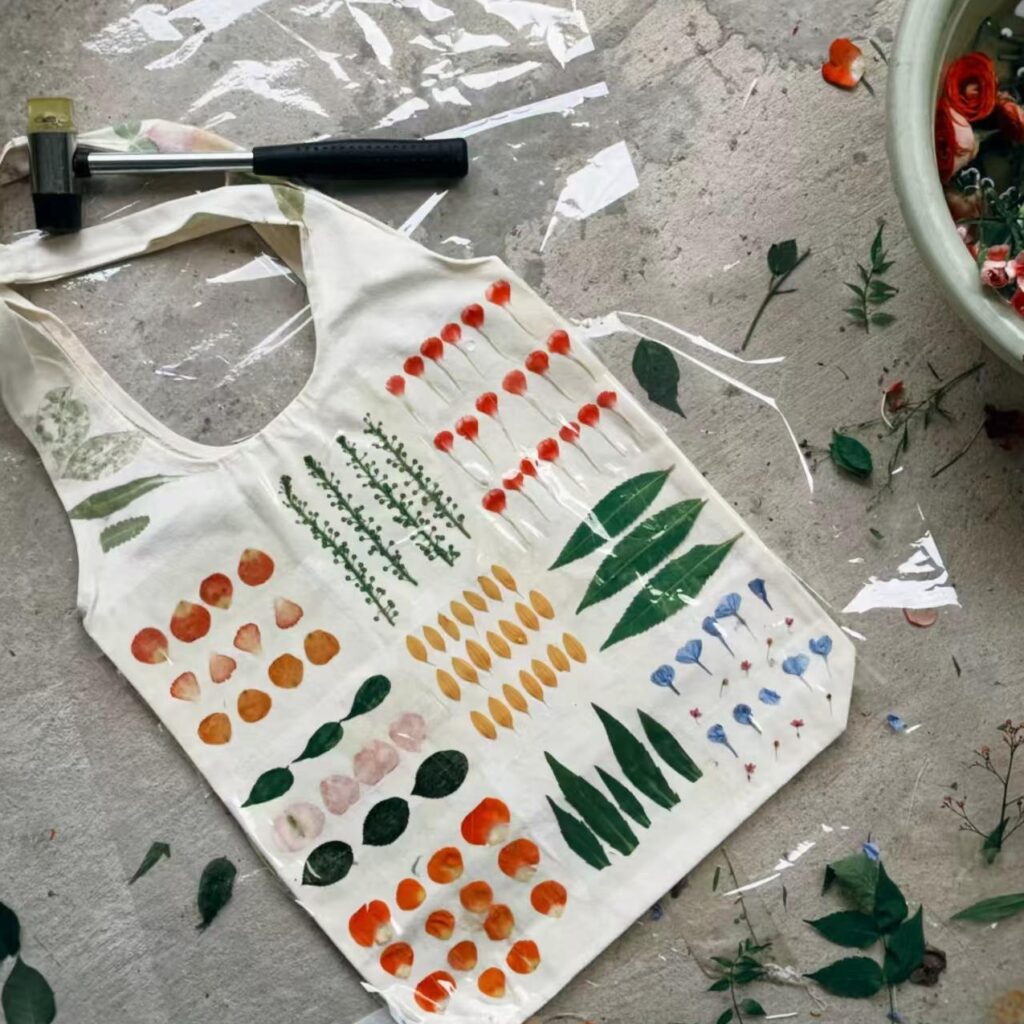
Sparse, small-leaf accents. Washes soften the color over time, which only improves the handmade character.
Smaller Items
Pillow covers, drawstring bags, coasters—minor accents that tie a room together without much cost.
Caring for Your Eco Plant Handmade Pieces
- Hand wash cold, mild detergent only
- No bleach
- Air dry; avoid machine drying or prolonged sun exposure
My apron is two years and dozens of washes in. The color has shifted from vivid green to a muted, grey-green. I prefer it now.
Want to Explore More Handmade Eco Printing?
If you’re interested in trying this with kids or turning plant prints into greeting cards, Mud & Bloom has a great beginner-friendly guide focused on paper prints and card-making projects.
Final Note
There’s no template for eco plant print handmade work. The same fern, hammered by you and by me, will yield different vein density and pigment distribution. Occasional unevenness or soft edges aren’t flaws—they’re the point.
It isn’t for people who need perfect symmetry. But if you can accept randomness, you get something irreplaceable: fabric that literally holds the shape of a specific leaf, from a specific day.